Here is a bloomer, that I decided to flavour. Flavouring yeasted bread is pretty difficult because the flavourings can be too strong and freak out the yeast in funny ways, but this sort of worked – so happy days!
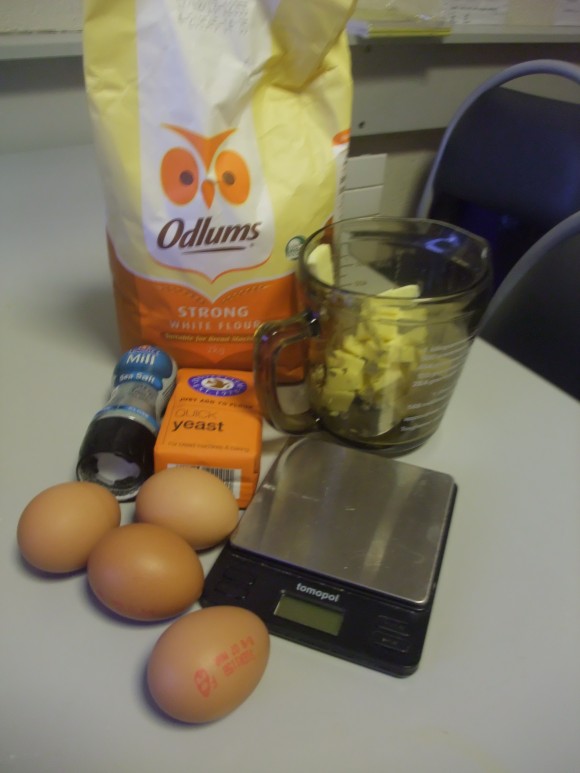
- 500g/1lb 2oz strong white flour, plus extra for kneading
- 10g/¼oz salt
- 1 x 7g sachet of instant yeast
- 320ml/11½oz cold water
- 40ml/2¾fl oz olive oil, plus extra for kneading
- extra oil and flour, for kneading
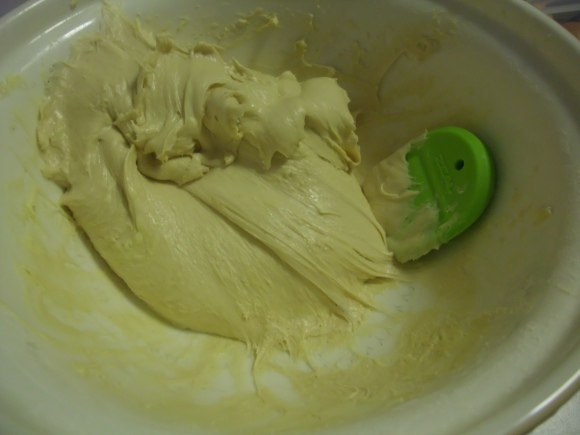
Sift flour in to a bowl and place yeast on one side and salt on the other. Get your dough hooks ready. Add the oil and 259mL of the water. (the extra water is there if you need it, but don’t feel obliged to use it!)

Using your dough hooks, knead the dough for 10-15 minutes. (I was advised that time for beginners!) I’m sure master bakers can get the right consistency in much less time!
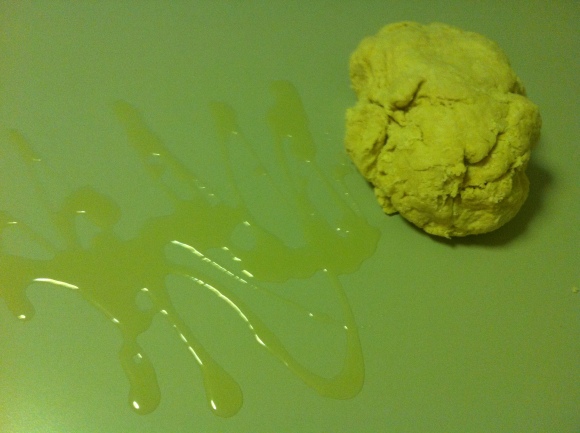
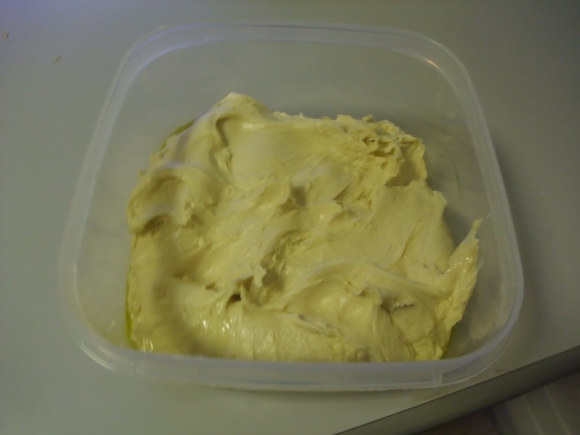
Add some oil to the bowl and bring the dough together in to a smooth ball.

Read to prove.

Leave the dough to prove at room temperature, or a little above, for a couple hours or until it has tripled in size.

In the meantime prepare the flavours. I caramelized 2 onions in water and a tablespoon of brown sugar. I find onions are quite sweet themselves, so don’t need much extar sugar for caramelizing.

Roughly chop some extra mature cheddar cheese.
When the dough has tripled, grab it out of the bowl and place the dough onto a floured surface. Knock the dough back by folding it in on itself repeatedly. Do this until all the air is knocked out and the dough is smooth.
Take the caramelized onions and pat dry, really dry, using kitchen towel. Too much moisture in the mix will not be nice and it’ll be difficult to incorporate the cheese and onions evenly then.
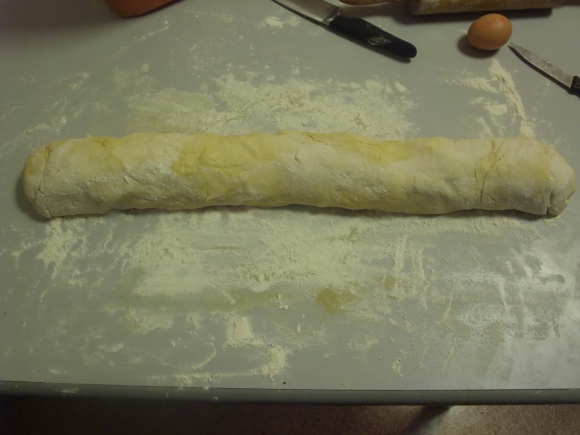
Then I rolled the dough out roughly and placed the flavours all over it.

Carefully and consistently mix the flavours in to the bread, making sure to evenly distribute them. Try to reform the bread in to a ballish shape to make the next step easier.

Shape the bread in to a long-ish oval. Leave to prove a second time, covering it in flour. The second proving should take another couple of hours until it has doubled in size.

Get a sharp knife (a sharper one than I used!) and cut several deep slices in to the surface of the dough, 2-3cm deep if possible.
Bake at 220 degrees celcius for 25 minutes (in a preheated oven). Then drop the heat to 200 degrees and continue baking for 15 minutes. Take out of oven and leave to cool completely on a wire rack.
Don’t cut in to it before it’s cooled. I was impatient the first time I made this. It needs the cooling time! It is worth the wait.
I seem to have lost a picture of the final product – it was eaten that fast! 😦 If I find one, I’ll pop it up!